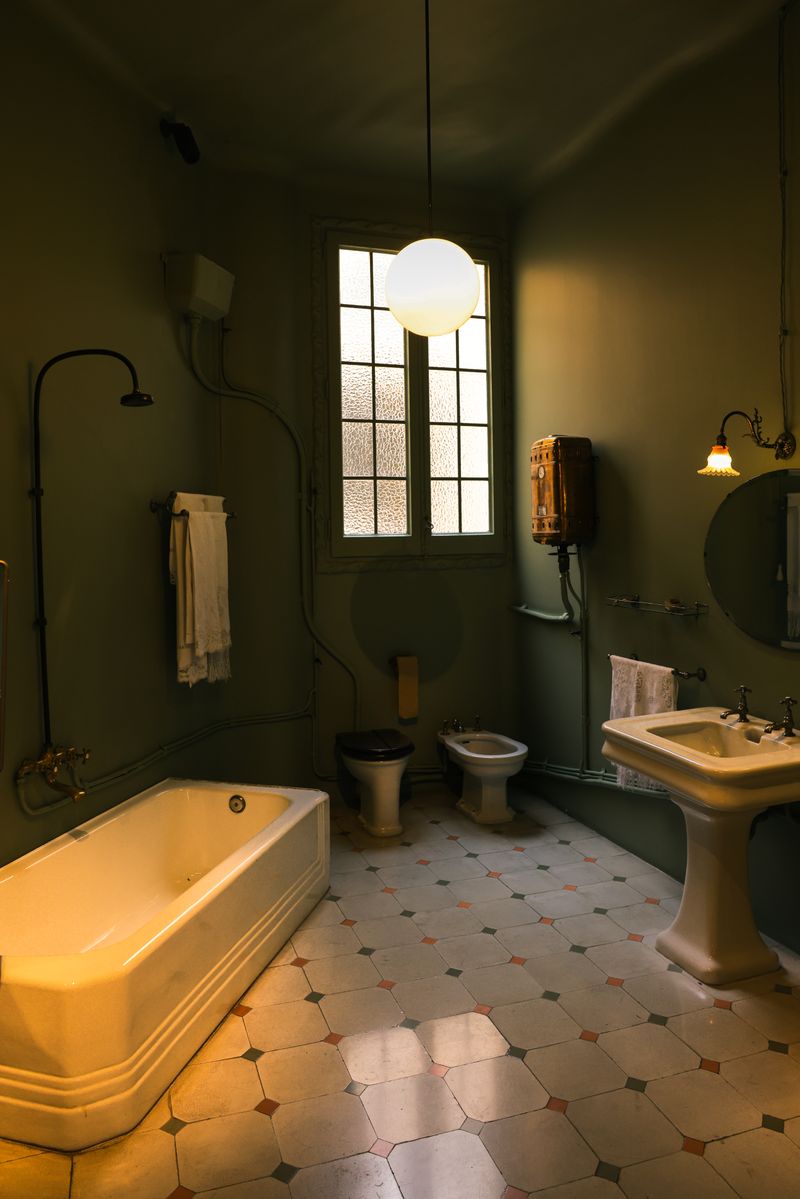
1. Types of Hardwood Flooring: Solid vs. Engineered
When selecting hardwood, your first decision is choosing between solid wood and engineered wood boards. Solid hardwood consists of single timber planks (usually 3/4 inch thick) cut directly from a tree. It can be sanded and refinished multiple times, making it highly durable. Engineered hardwood consists of a thin top layer of natural hardwood bonded over multiple layers of high-density plywood. Engineered wood resists temperature and moisture fluctuations, making it ideal for basements and concrete subfloors where solid wood can swell.

2. Choosing the Right Wood Species and Finish
The wood species determines the hardness, grain pattern, and color of your floor. Oak is a highly popular, durable choice that handles daily traffic well, while maple features a clean, tight grain. For a luxury look, opt for walnut with its rich, dark brown tones. Choose a factory pre-finished wood to skip the sanding and sealing process after installation, or choose unfinished planks to apply a custom stain on-site. Select a matte polyurethane coating to resist scratching while preserving the natural wood grain look.
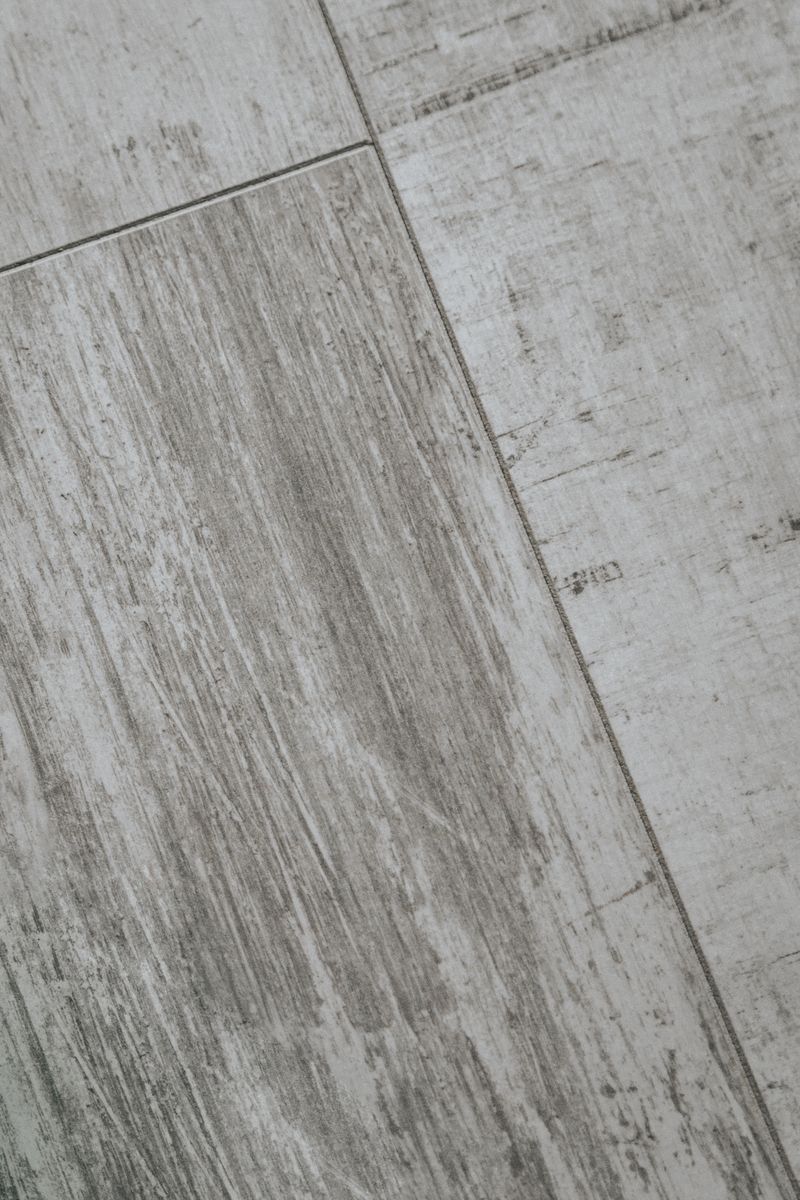
3. Tools and Materials Needed for Installation
Before starting, gather all the specialized tools required for a clean installation. For nail-down solid wood, you need a pneumatic flooring nailer, a rubber mallet, a miter saw, and a table saw to rip cut edge planks. You also need a pry bar, a tape measure, a chalk line, and safety goggles. Materials include the wood planks, flooring cleats or staples, underlayment paper (such as 15-pound asphalt felt paper), and matching wood putty to fill nail holes along borders.
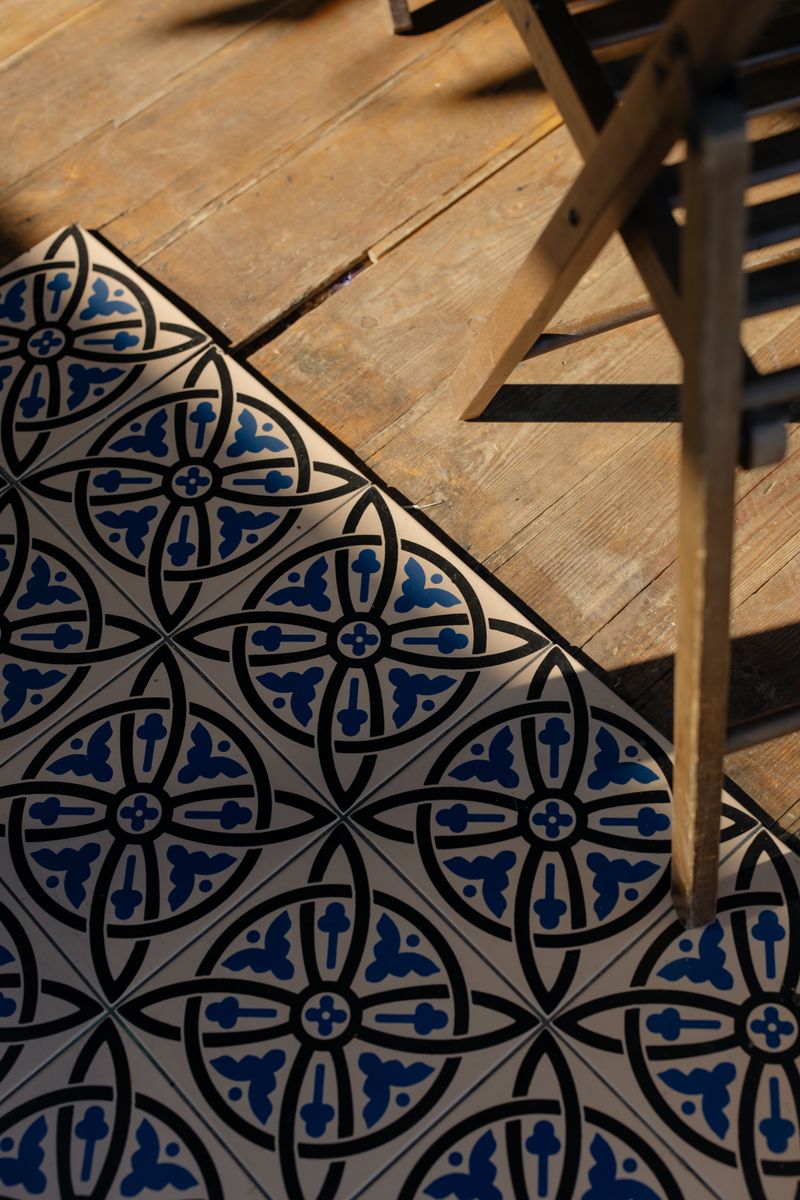
4. Preparing the Subfloor Before Installation
Subfloor preparation is the most critical step to prevent future squeaking and floor sagging. The subfloor (usually plywood or concrete) must be clean, dry, and flat. Use a long straightedge to identify high and low points. Sand down plywood joints and fill low spots with a self-leveling cement compound. Sweep and vacuum the surface to remove all dirt. Check plywood moisture levels using a wood moisture meter; the subfloor moisture must be within 4% of the hardwood planks before laying underlayment paper.
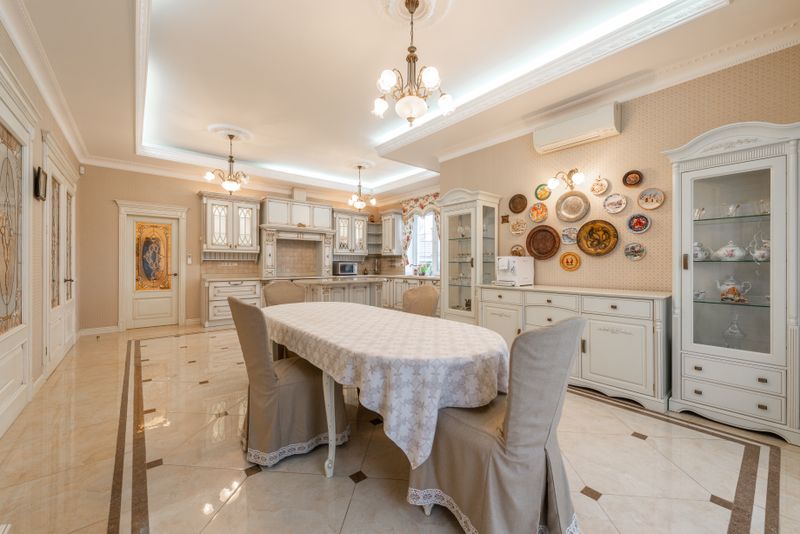
5. Acclimating Hardwood Planks to the Room
Hardwood is a biological material that expands and contracts with changes in room humidity. Skip acclimation, and your newly installed floor can buckle or develop wide gaps. Unbox the wood planks and stack them in log-cabin-style layers in the bedroom or living room where they will be installed. Let the wood acclimate to the home's heating and cooling for three to seven days, allowing the timber moisture levels to stabilize before fastening.
6. Step-by-Step Installation Process Overview
The installation method depends on your wood type. Nail-down installation involves nailing tongue-and-groove solid planks to a plywood subfloor using a flooring nailer. Glue-down installation is used for engineered wood over concrete, using a notched trowel to apply low-VOC flooring adhesive. Floating installation involves snapping tongue-and-groove engineered planks together over a foam pad underlayment, leaving a 1/2-inch gap along the walls to allow the wood floor to expand naturally.
7. DIY Installation vs. Hiring a Professional
Installing wood flooring requires physical stamina and precise cutting skills. Tackling the project yourself (DIY) saves significant labor costs but requires renting specialized saws and nailers. Hiring a professional flooring contractor ensures the subfloor is leveled correctly, layout lines are straight, and transition moldings are fitted cleanly. Professional installation is highly recommended for complex room shapes, stairs, or nail-down solid wood over large open floor plans.
8. Common Installation Mistakes to Avoid
One of the most common mistakes is forgetting to leave an expansion gap along the walls, which causes the wood to buckle as room humidity rises. Another error is neglecting to mix planks from different boxes during installation, resulting in patches of clashing wood colors. Ensure you check subfloor flateness, use a chalk line to establish straight starter rows, and inspect each board for defects before fastening to keep the floor looking clean and professional.
9. Cost Breakdown: Materials, Labor, and Estimates
Hardwood flooring installation is a premium project, with solid wood costing between $8 and $15 per square foot. Materials (oak or maple planks, underlayment, trim) make up $4 to $8 per square foot. Professional labor adds $4 to $8 per square foot. Factor in additional costs for subfloor leveling and transitions. Sourcing high-quality engineered wood can reduce material costs, making it a budget-friendly option that still looks luxurious.
10. How Long Installation Typically Takes
The timeline depends on room size and wood type. Standard bedroom wood flooring installation takes one to two days for pre-finished planks. Unfinished wood requires three extra days for sanding, staining, and drying polyurethane coats. Factor in the three-day acclimation period before starting. Professional crews can complete a 1000-square-foot home layout in three to four days, keeping dust contained and walkways clear.
11. Caring for and Maintaining Hardwood Floors
To preserve the high-gloss or matte shine, sweep the wood daily with a soft broom. Vacuum weekly using a brush attachment to remove dirt from joints. Wipe spills immediately using a damp cloth; standing water can warp wood fibers. Use a specialized wood cleaner and a damp flat mop, avoiding steam mops and wet dripping mops that can swell timber joints. Place protective felt pads under furniture legs to prevent scratching.
12. Signs You May Need Repair or Refinishing
Over decades of high use, hardwood floors can develop deep scratches, wide gaps, or cupped planks. Cupping occurs when moisture swells the bottom of the wood board, raising the edges. If the wood floor has deep scratches but is structurally flat, hire a professional to sand and refinish the surface. Solid wood can be refinished three to five times, restoring the timber to its original, beautiful look.