

1. Step 2: Wash, Dry, and Iron Both Flat Sheets
Wash and dry both flat sheets first. Then press out big wrinkles with an iron. Flat, smooth fabric is much easier to measure, line up, pin, and sew accurately.
Flat sheets already have a wide, neatly stitched top hem. Position that finished hem at the bottom opening of your duvet cover so the edge is already hemmed and reinforced for buttons, snaps, or ties.
Spread the first sheet flat on a large clean floor or bed with the right side facing up. Place the second sheet on top with the right side facing down, lining up the two finished top hems at the bottom edge.
Smooth out any wrinkles or air bubbles from the center outward. Pin or clip the sheets together along the edges so they do not shift while cutting or sewing.
2. Step 6: Cut the Sheets to Match Your Duvet Measurements
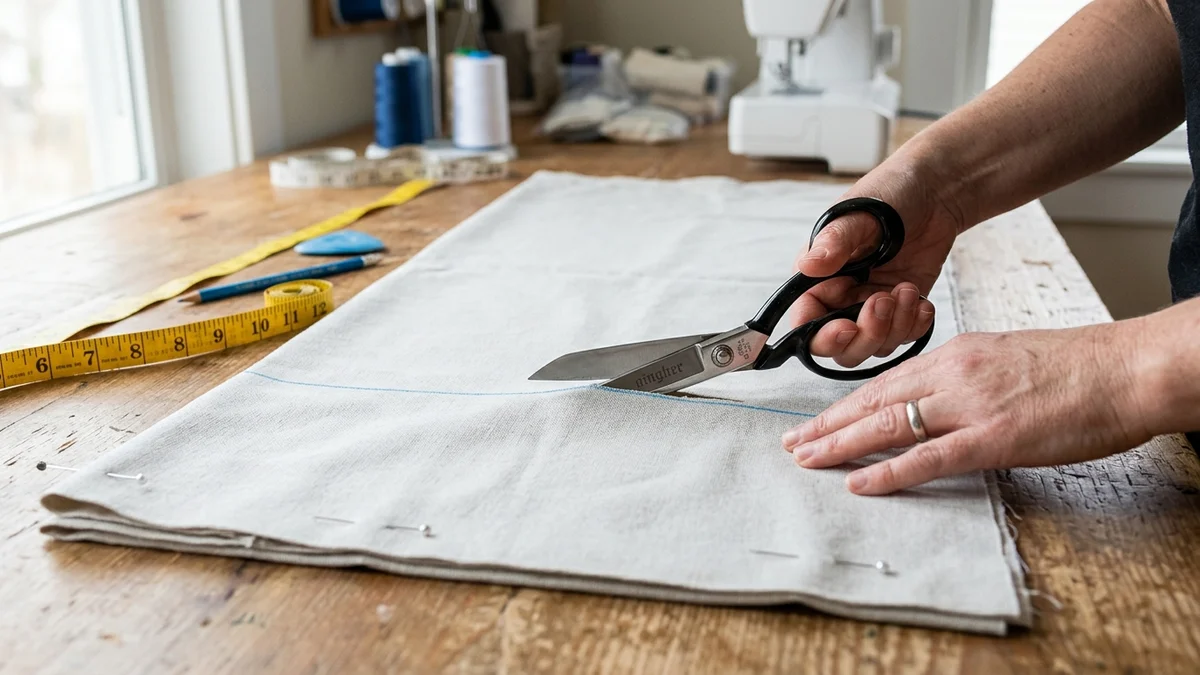
Keep the lined-up bottom hem edge intact. Measure from the bottom edge upward for your desired length, and measure across for your desired width. Trim away any excess fabric from the sides and top edge so both sheets match the exact cut measurement.
3. Step 7: Add Corner Ties Before or During Sewing (Recommended)
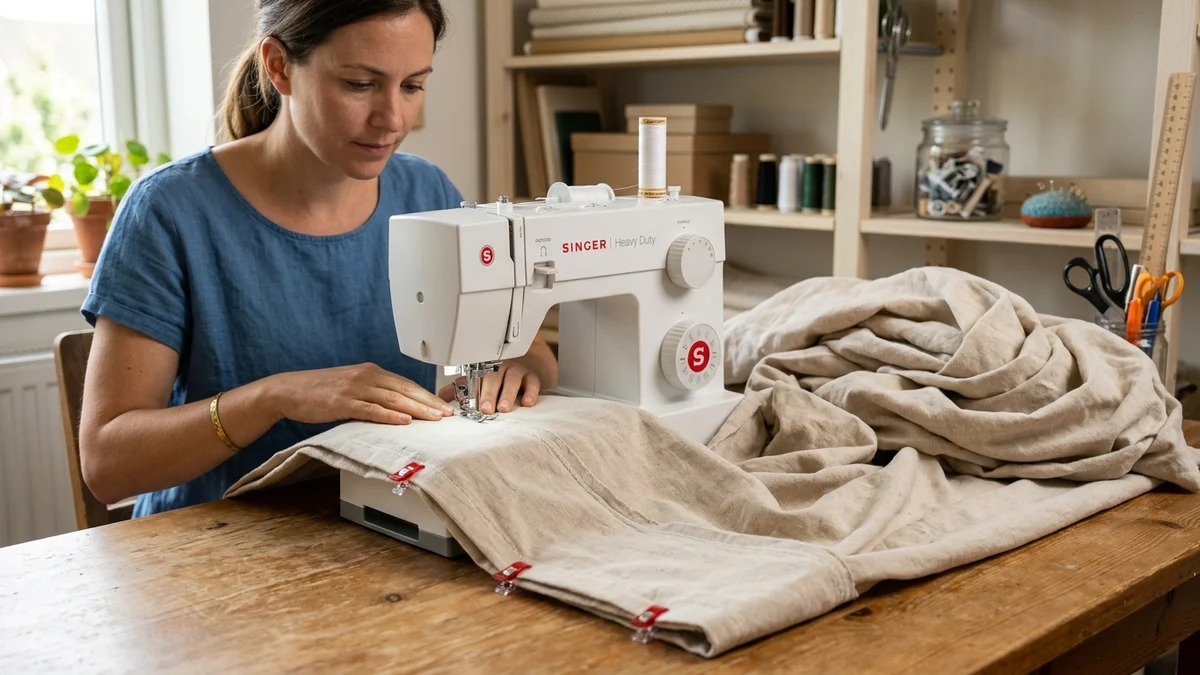
Cut 4 pieces of ribbon or cotton twill tape, each about 12 to 14 inches long. Fold each piece in half and place the folded center into each corner between the two sheets, pointing the loose ends inward so the loop gets caught in the corner seam.
Using a 1/2-inch seam allowance, sew around the left side, top edge, and right side. Leave the bottom center open (sewing in 8 to 12 inches from both bottom corners) so you can insert the duvet neatly.
4. Step 9: Finish the Raw Interior Seams
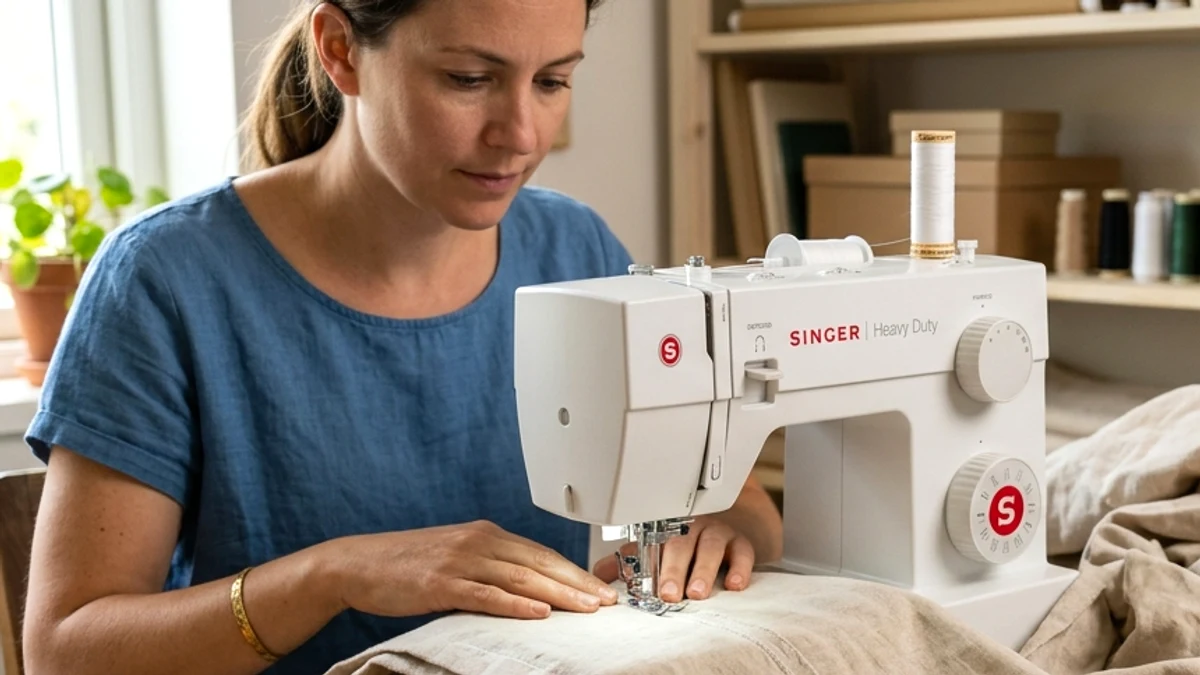
Finish the raw inside edges using a zigzag stitch, serger stitch, or pinking shears so they do not fray in the wash.
Turn the duvet cover right side out through the bottom opening, push out all four corners gently, and press the outer edges with an iron.
Step 11: Add Your Closure
Choose from four easy bottom closure styles:
Turn the DIY duvet cover inside out on the bed, lay the insert on top, tie all four corner ties, roll both together tightly from the head to the foot of the bed like a burrito, flip the cover ends over the roll, and unroll backward.