
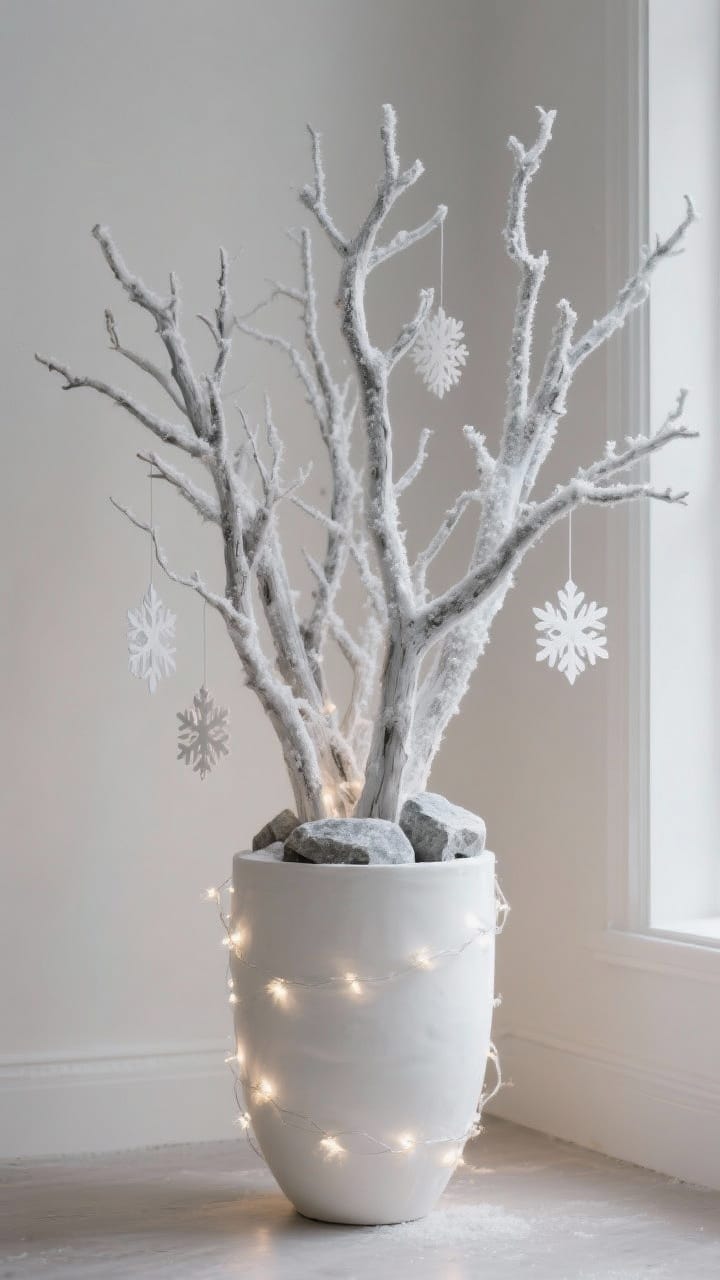
1. DIY Faux Snow-Dusted Branch Centerpiece
Time: 1 hour (plus 30 minutes drying time) | Difficulty: Beginner | Budget: $0–$10
Materials Needed: 4–6 foraged bare sculptural tree branches (birch, oak, or manzanita work best), matte white acrylic craft paint or multi-purpose spray adhesive, coarse Epsom salt or faux crystalline mica flakes, a heavy ceramic vase or stoneware crock, floral foam or pebbles for weighting, and battery-operated warm-white micro LED copper fairy lights.
Step-by-Step Guide: 1. Head outdoors to forage 4 to 6 sturdy, interestingly shaped branches with delicate twigs. Wipe each branch clean with a dry microfiber cloth and allow them to come to room temperature. 2. In a well-ventilated area or outdoor workspace, lightly brush matte white acrylic paint across the tops and crook angles of each branch where real snowfall naturally settles, or mist them with light craft spray adhesive. 3. While the paint or adhesive is still wet, immediately dust generous handfuls of coarse Epsom salt over the limbs, letting the crystal facets stick naturally to create an icy shimmer. 4. Allow the branches to dry undisturbed for 30 minutes. 5. Anchor the bases securely into your vase using floral foam or river stones. 6. Delicately weave a strand of warm copper wire fairy lights through the upper boughs, hiding the slim battery pack inside the neck of the vase.
Styling & Placement Advice: This breathtaking, zero-dollar centerpiece serves as an instant organic focal point on your dining table, entryway console, or deep living room windowsill. For added textural depth, surround the vase base with small white taper candles in brass holders, dried silver dollar eucalyptus sprigs, and a dusting of loose faux snow across a dark wooden table runner.
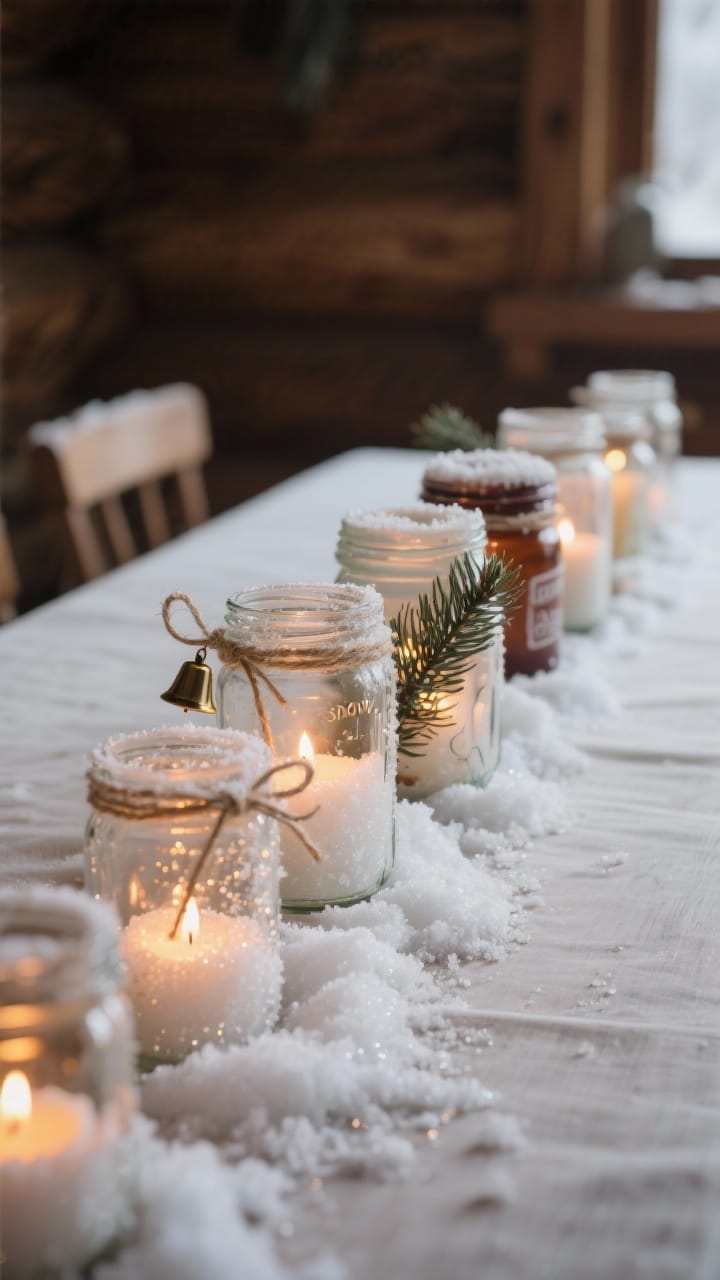
2. Hand-Painted Frosted Glass Jar Luminary Set
Time: 45 minutes (plus 1 hour cure time) | Difficulty: Very Easy | Budget: Under $10
Materials Needed: 3–4 assorted clean glass mason jars, vintage canning jars, or upcycled pickle jars of varying heights, matte Mod Podge or clear craft glue, foam paint brushes, coarse kosher salt or Epsom salt, fine iridescent craft glitter, natural jute twine or velvet ribbon, and battery-operated flickering LED tea lights or votive candles.
Step-by-Step Guide: 1. Clean the exterior of each glass jar with rubbing alcohol to remove dust and fingerprint oils for optimal glue adhesion. 2. Mix 2 cups of coarse Epsom salt with 1 tablespoon of fine iridescent craft glitter in a shallow baking dish. 3. Using a soft foam brush, apply a smooth, medium-thick layer of matte Mod Podge across the entire exterior body of the jar, leaving the top screw-thread rim clean for ribbon tying. 4. Gently roll the coated jar through the salt-and-glitter mixture until the surface is completely and evenly encrusted with frosty crystals. 5. Set the jars upright on parchment paper to dry completely for about 1 to 2 hours until the frosty coating turns opaque white and firmly set. 6. Tightly wrap rustic jute twine or dusty-blue velvet ribbon three times around the jar neck, tying it into a neat bow, and place a warm flickering battery tea light inside.
Styling & Placement Advice: Cluster your frosted luminaries in a staggered trio on a fireplace mantel, coffee table tray, or bathroom vanity. When illuminated after dark, the warm amber glow filters through the crystalline texture, projecting dreamy snowflake-like shadows across nearby walls.
3. DIY Pinecone and Greenery Garland
Time: 1.5 hours | Difficulty: Beginner to Intermediate | Budget: $10–$15
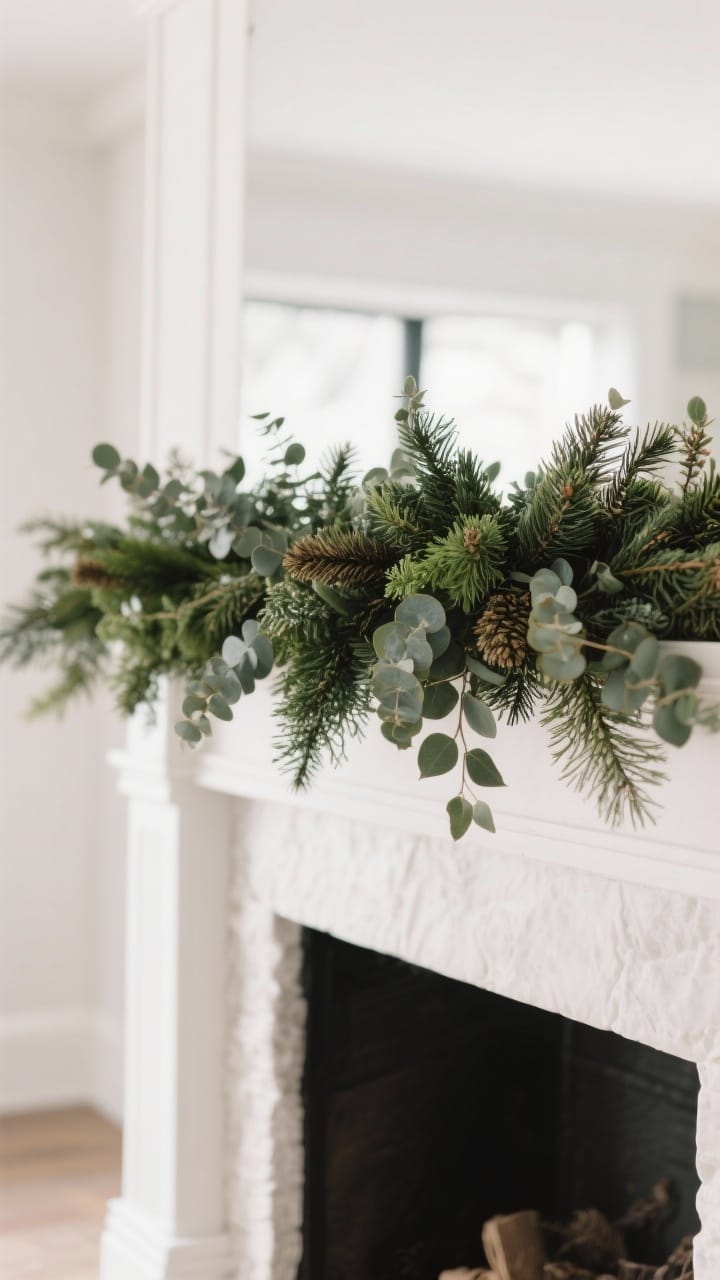
Materials Needed: 20–30 foraged or store-bought pinecones of assorted sizes, fresh cedar and pine clippings or faux evergreen sprigs, 22-gauge green floral wire, 6–8 feet of thick natural jute rope, white matte chalk paint or gesso, wire snips, and optional dried white tallow berries or cinnamon sticks.
Step-by-Step Guide: 1. Using an inexpensive chip brush, lightly dry-brush white chalk paint onto the outer petal edges of your pinecones to create a soft, snow-tipped frost effect, then let dry for 20 minutes. 2. Measure your fireplace mantel, staircase banister, or dining table and cut your jute rope to length, adding an extra 12 to 18 inches for graceful hanging drapes on either end. 3. Assemble small hand-tied bundles of evergreen clippings (combining feathery cedar, fragrant pine, and silver fir for realistic texture) and secure each bundle with floral wire. 4. Starting from one end of the rope, attach each greenery bundle using floral wire, layering each subsequent bundle over the previous stems to keep all mechanics completely hidden. 5. Wrap floral wire around the base of each frosted pinecone and secure them firmly into the greenery at alternating 6-inch intervals, tucking in white berry sprigs for natural contrast.
Styling & Placement Advice: Drape this fragrant, lush garland across your living room fireplace mantel or weave it down the center spine of your dining table. Intersperse warm battery-operated globe lights and small pillar candles along the hearth for a classic winter cottage aesthetic that feels festive from December through February.
4. Birch Branch and Fairy Light Display
Time: 1 hour | Difficulty: Beginner | Budget: $15–$25
Materials Needed: 3–4 natural white birch logs or poles (2 to 4 feet in height and 2–4 inches in diameter), a large rustic galvanized metal bucket or woven seagrass floor basket, 2–3 boxes of heavy floral foam or clean bricks for base weighting, faux batting snow, fresh cedar boughs, and 2 strands of warm-white battery fairy lights with timers.
Step-by-Step Guide: 1. Select natural white birch logs with distinctive papery bark and saw the bases flat so they sit flush. 2. Place heavy bricks or stones in the base of your bucket or woven basket to prevent the arrangement from tipping when fully assembled. 3. Stand your birch poles upright in an asymmetrical cluster, varying their heights so the tallest pole sits slightly toward the rear. 4. Pack dense floral foam around the log bases to lock them into position, then drape a fluffy layer of faux polyester snow batting across the top of the container. 5. Tuck fresh fragrant pine and cedar sprigs around the base of the birch trunks to create a lush forest floor appearance. 6. Spiral warm white micro fairy lights up and down each birch trunk, concealing the battery packs beneath the faux snow layer.
Styling & Placement Advice: Position this commanding floor piece in an unused living room corner, beside an entryway coat rack, or flanking your living room television console. The bright chalky white of the birch combined with rich green needles and golden micro-lights brings the quiet luxury of an alpine ski chalet right into your home.
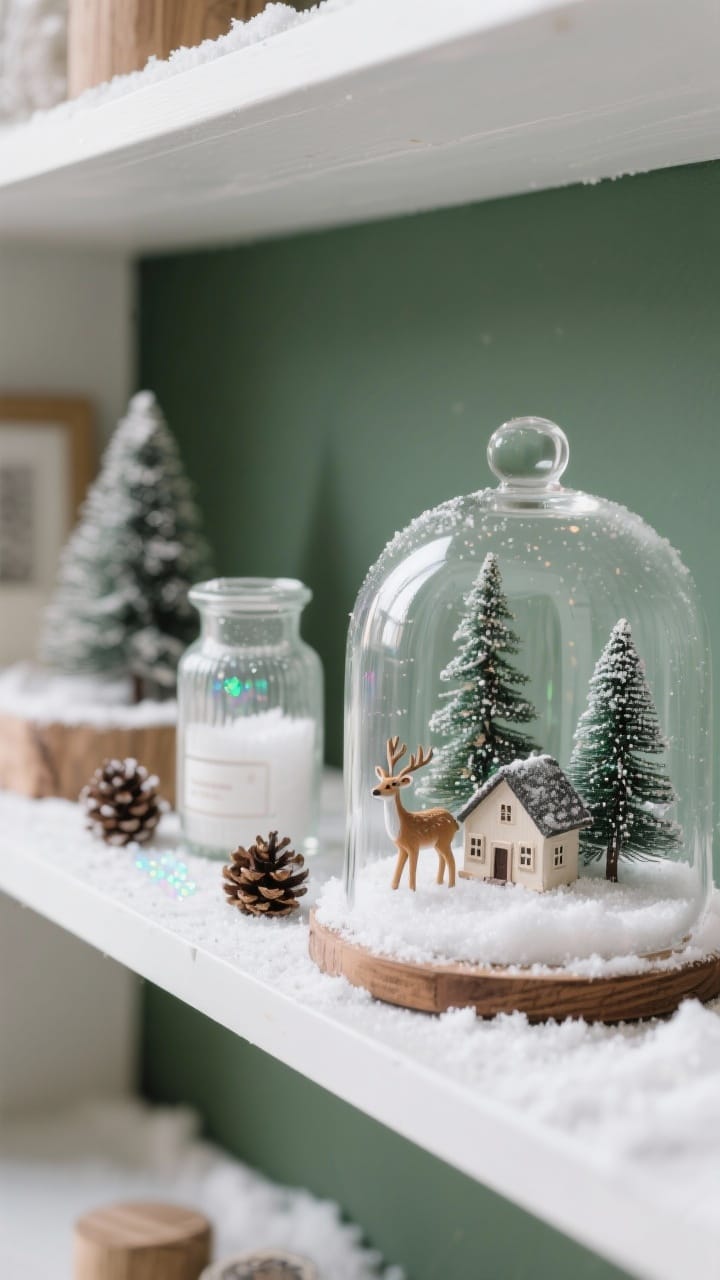
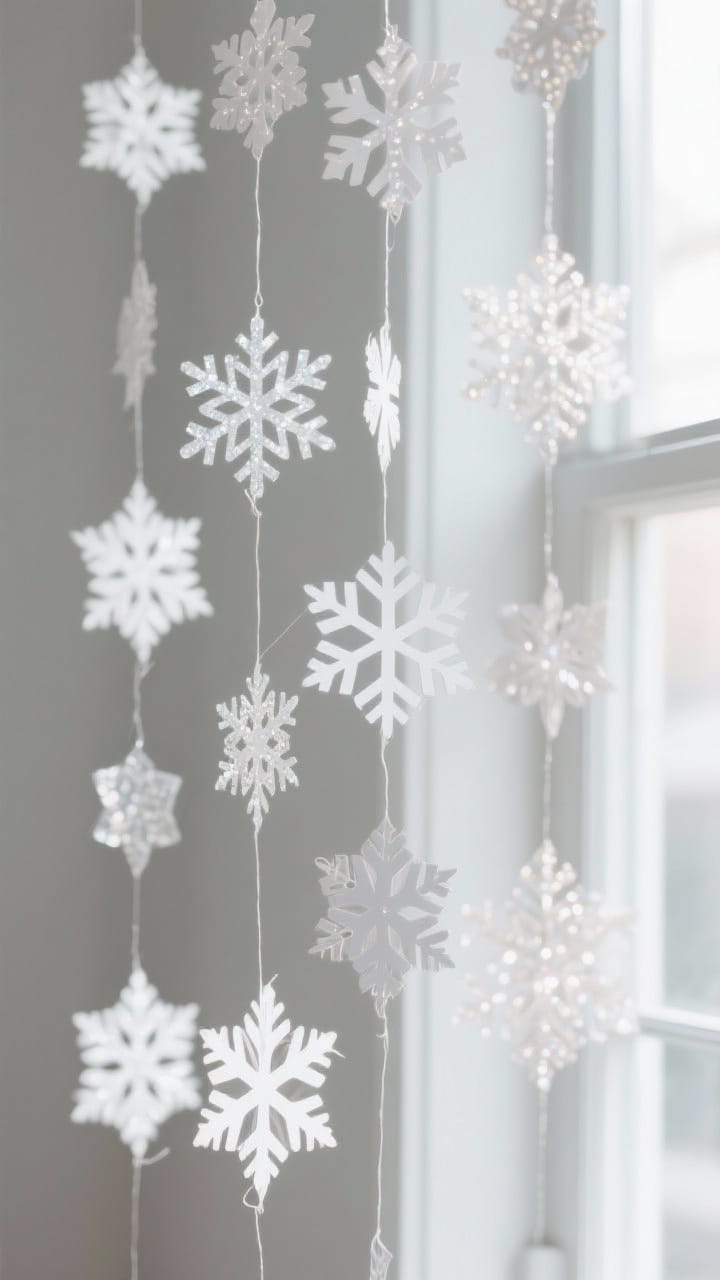
5. DIY Snowflake String Light Backdrop
Time: 1.5 to 2 hours | Difficulty: Intermediate | Budget: $12–$20
Materials Needed: 15–20 sheets of heavy bright-white cardstock or crisp vellum paper, sharp precision craft scissors or decorative paper punches, a 6x6-foot curtain string light set with warm LED drops, clear monofilament fishing line, transparent mini craft tape, and removable adhesive wall hooks.
Step-by-Step Guide: 1. Cut your cardstock into squares of varying dimensions (4-inch, 6-inch, and 8-inch squares). 2. Fold each square into traditional six-point snowflake triangles and cut intricate geometric notches, curved teardrops, and zig-zag patterns into the edges to create a diverse collection of delicate snowflakes. 3. Unfold each snowflake carefully and press them beneath heavy books for 15 minutes to flatten any sharp crease lines. 4. Mount your curtain string light set along the top of an empty accent wall using damage-free removable adhesive hooks, letting the delicate vertical light strands cascade toward the floor. 5. Using small tabs of clear craft tape or transparent fishing line, attach snowflakes at staggered, natural heights directly along the falling light wires.
Styling & Placement Advice: Hang this magical illuminated installation behind your primary living room sofa, across a wide dining room picture window, or behind a dessert bar. When the overhead lights are dimmed, the glowing LED drops illuminate the crisp geometric paper edges, producing a breathtaking indoor blizzard illusion that doubles as a photogenic party backdrop.

6. Frosted Pinecone Wreath for the Front Door
Time: 1.5 hours | Difficulty: Easy to Moderate | Budget: $10–$18
Materials Needed: A 14-inch or 16-inch grapevine wreath form or wire frame, high-temperature hot glue gun and 10–12 glue sticks, 35–50 dry pinecones of varied sizes, white satin spray paint, faux white winter berries, and 2 yards of 2.5-inch wide velvet hanging ribbon in slate blue, charcoal, or creamy oatmeal.
Step-by-Step Guide: 1. Lay your pinecones out on a drop cloth outdoors and spray them lightly with white satin paint from a 45-degree angle to mimic the natural drift of falling winter snow; let dry for 20 minutes. 2. Heat your glue gun and begin adhering the largest pinecones around the outer perimeter of the wreath form, angling the tips outward to create a full, dimensional silhouette. 3. Fill the central ring and inner circumference with medium-sized pinecones, positioning them closely together to completely conceal the underlying grapevine frame. 4. Use the smallest pinecones, faux snow berries, and mini evergreen sprigs to fill any remaining gaps between the main cones. 5. Loop your wide velvet ribbon through the center top of the wreath and tie an elegant, long-tailed tailored bow for hanging.
Styling & Placement Advice: Hang your finished frosted pinecone wreath on your front entry door to greet guests with handcrafted charm, or hang it over an interior architectural mirror above your living room sofa. Because it uses natural dried materials and durable adhesives, this wreath is weather-resistant and will look pristine winter after winter.

7. DIY Winter-White Table Runner with Pom-Pom Trim
Time: 1 hour | Difficulty: Beginner (No-Sew Friendly) | Budget: $12–$18
Materials Needed: 2 yards of natural white, cream, or oatmeal linen-cotton blend fabric, 4 yards of fluffy white yarn pom-pom fringe trim, ultra-strong permanent fabric glue or iron-on fusible hem bonding tape, a household steam iron, measuring tape, and sharp fabric shears.
Step-by-Step Guide: 1. Measure the length of your dining table and add 14 to 18 inches to allow for an elegant 7 to 9-inch overhang on each table end. Cut your fabric straight to a finished width of 14 inches. 2. Fold each of the four raw edges inward by 1/2 inch, pressing the folds firmly with a hot steam iron to establish crisp, clean hem guidelines. 3. Secure the hemmed edges along the length of the runner using iron-on fusible tape or a continuous bead of fabric glue, pressing firmly until bonded. 4. Apply a generous line of fabric adhesive along the underside of both short hemmed ends and attach the pom-pom fringe trim, ensuring the fluffy white poms hang freely over the edge. 5. Allow the adhesive to cure flat on a table for 2 hours before styling.
Styling & Placement Advice: Lay this cozy, tactile runner down the center of a rustic dark wood or modern dining table. The playful pom-pom border evokes soft, gentle snowballs, providing a warm, neutral textile foundation for holiday dinnerware, glowing pillar candles, and fresh evergreen centerpieces.
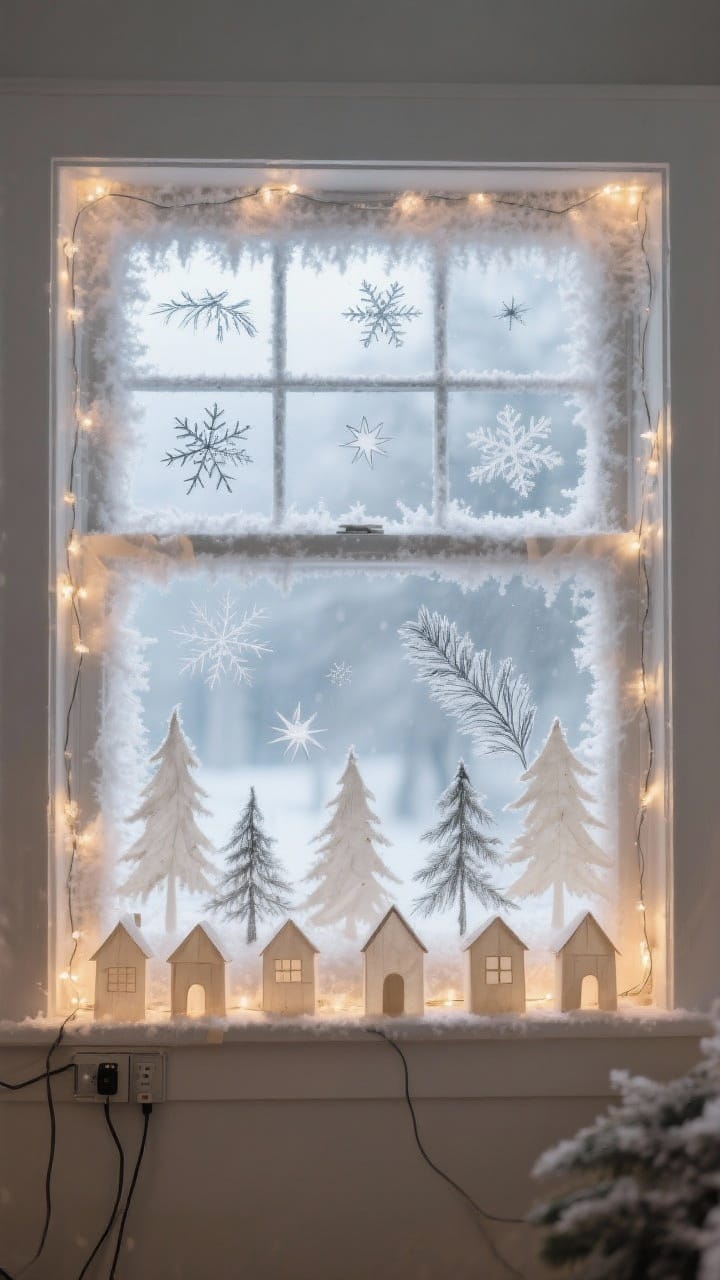
8. Mason Jar Snow Globe Display
Time: 45 minutes | Difficulty: Very Easy | Budget: Under $10
Materials Needed: 3 assorted wide-mouth glass mason jars with airtight two-piece lids, miniature plastic bottle brush evergreen trees (in green, frosted white, and silver), small ceramic holiday deer or house figurines, waterproof epoxy adhesive or waterproof silicone sealant, distilled water, liquid glycerin, and fine white/silver iridescent craft glitter.
Step-by-Step Guide: 1. Separate the flat inner lid from the metal screw band and lightly sand the underside of the inner lid with coarse sandpaper to create a textured bonding surface. 2. Using waterproof epoxy glue, adhere your miniature bottle brush trees and tiny ceramic deer securely to the center of the sanded lid; allow the adhesive to cure completely for 45 minutes. 3. Fill the clean glass jar with room-temperature distilled water, leaving approximately 1/2 inch of space at the top. 4. Add 6 to 8 drops of liquid glycerin to the water—this crucial step thickens the liquid slightly so the glitter falls slowly like realistic drifting snow. 5. Stir in 1 to 2 teaspoons of fine iridescent glitter flakes. 6. Apply a thin bead of waterproof glue along the inner rim of the jar, insert your figurine upside down, screw the metal band down firmly, and invert the jar onto a level surface.
Styling & Placement Advice: Display a charming collection of three different-sized mason jar snow globes on a wooden coffee table tray, open kitchen shelving, or a children's bedroom nightstand. Gently swirl the jars before guests arrive to create a mesmerizing blizzard of magical miniature winter wonder.
Final Thoughts: Crafting Seasonal Magic at Home
Embracing the quiet beauty of the winter season is all about cultivating warmth, comfort, and cozy enchantment within your living space. By crafting your own winter wonderland decorations—from frosted glass luminaries and snowy branch centerpieces to pinecone garlands and mason jar snow globes—you bring tactile natural elements and sparkling ambient light into your home without excessive expense or stress. The beauty of these 8 weekend projects lies in their versatility: they effortlessly bridge the gap between holiday festivities and the peaceful winter months of January and February. Pick one or two projects that speak to your home's aesthetic, gather your supplies, put on some cozy seasonal music, and enjoy the creative satisfaction of making something truly magical with your own hands this weekend.