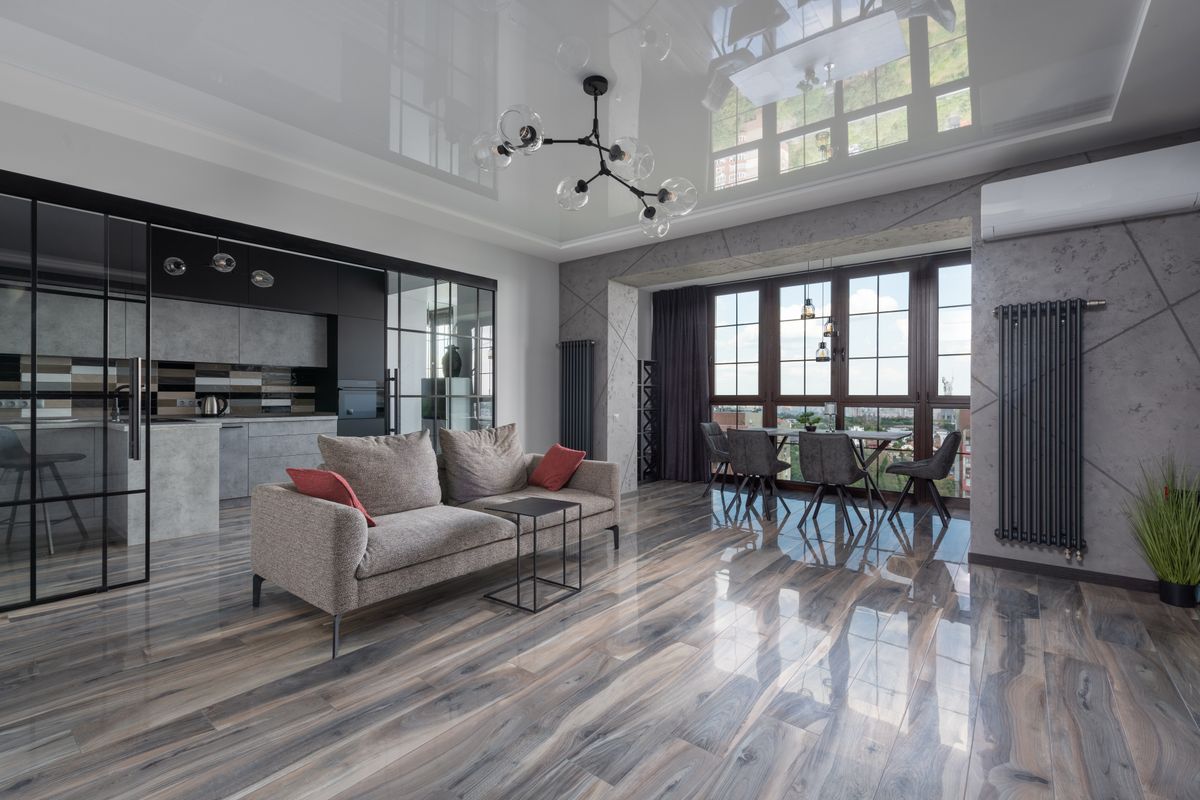
1. What is 3D Epoxy Flooring?
A 3D epoxy floor is a multi-layered flooring system composed of a base self-leveling primer, a high-resolution printed photo graphic, and a thick coating of clear, protective liquid polyurethane or epoxy resin. The process involves preparing the raw concrete subfloor, laying down the custom photo canvas, and pouring the clear liquid plastic over the top. The resin cures into a hard, glass-like protective barrier that seals the print underneath, creating a seamless, glossy surface that feels completely flat but displays three-dimensional depth.
2. Why 3D Epoxy Floors are Trending in Modern Interior Design
Modern interior design is shifting away from flat, predictable surfaces in favor of bold, statement-making accents. 3D epoxy flooring has become highly popular because it addresses empty floor space with architectural movement. It replaces plain wood planks or stone tiles with a seamless finish that looks like a custom art installation. Homeowners love the ability to display water waves, geometric blocks, or luxury marble veins, turning functional hallways into a design feature that wows visitors.
3. The Visual Effect It Creates
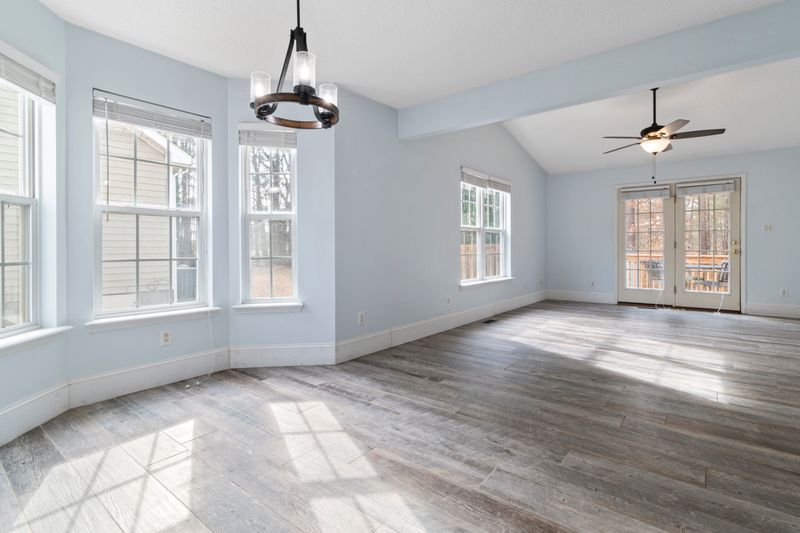
The primary appeal of 3D epoxy flooring is the incredible optical illusion of depth it brings to the space. The transparent resin layer scatters light, making the flat printed image below look three-dimensional. A floor displaying ocean water looks like a deep pool, while abstract geometric shapes seem to float underneath your feet. The high-gloss finish reflects natural light and ceiling sconces beautifully, helping narrow hallways look bright, open, and spacious.

4. Popular 3D Epoxy Design Themes
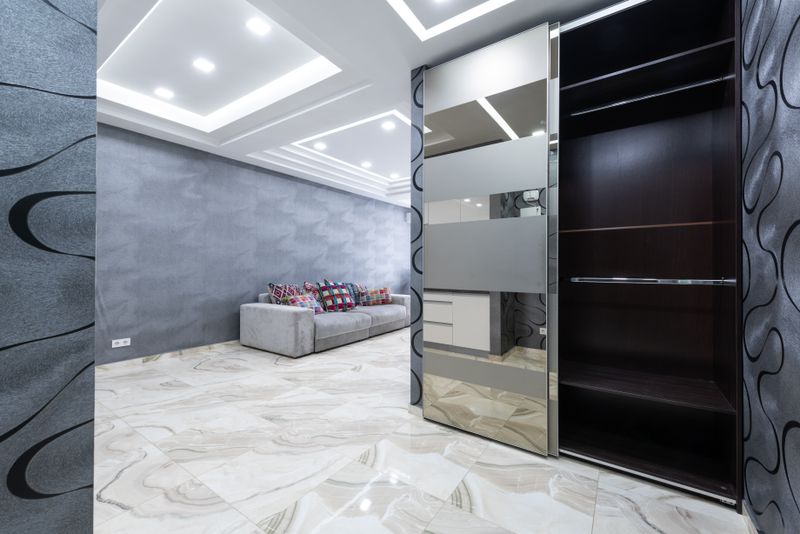
There are several popular design themes for 3D epoxy flooring, ranging from realistic natural scenes to clean, modern textures. Ocean water ripples, coral reefs, and sandy beaches are widely loved for bathrooms and pools. Abstract geometric shapes and multi-colored swirls work well in modern living rooms. For a luxury look, opt for a marble veining print under the resin, which mimics solid white marble slab flooring at a fraction of the cost, adding high-end texture.

5. Best Rooms for 3D Epoxy Flooring
Because epoxy is completely waterproof and seamless, it works best in bathrooms, kitchens, entryways, and basements. In a master bathroom, ocean water themes reinforce the spa-like atmosphere. In a basement, the high-gloss resin brightens dark layouts by reflecting light. In a wide entryway, a geometric or marble-look epoxy floor establishes a clear design statement that greets visitors and coordinates with modern credenzas and minimalist doors.

6. Rooms and Situations to Avoid
While 3D epoxy is durable, avoid installing busy, realistic water scenes in cozy bedrooms or formal dining rooms, where the bold prints can clash with soft textiles and wooden dining tables. Additionally, avoid laying epoxy in rooms with major subfloor moisture issues, as rising groundwater pressure can cause the resin to bubble and peel away. Ensure your subfloor concrete is completely dry and sealed before pouring the liquid plastic.

7. Pairing Lighting with a 3D Epoxy Floor
Lighting is crucial to highlight the depth and glossy finish of a 3D epoxy floor. Install dimmable recessed spotlights in the ceiling to cast vertical beams onto the resin, creating soft highlights that emphasize the printed image below. Avoid using unshielded spotlight bulbs that cast harsh, blinding glare on the plastic surface. Diffused LED light strips hidden along baseboards or ceiling coves wash the floor in a soft, even glow.
8. Complementary Furniture and Wall Treatments
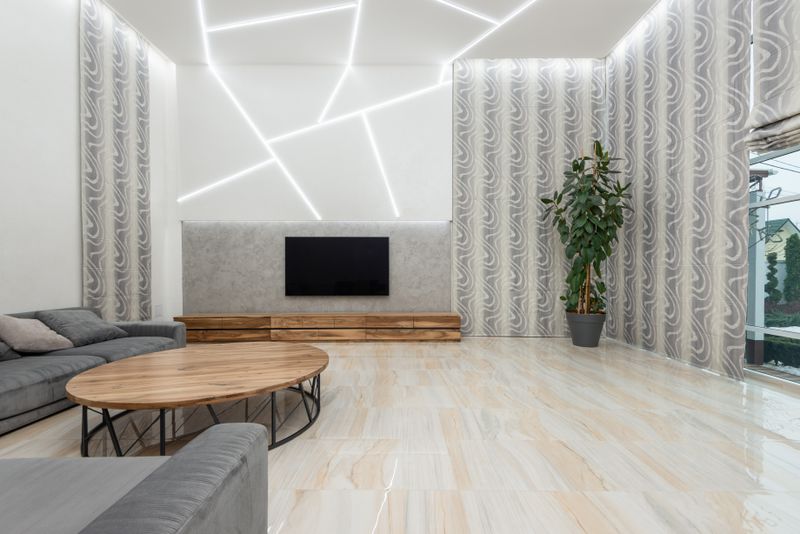
Because a 3D epoxy floor is a bold design statement, keep surrounding furniture and wall treatments minimal to prevent visual clutter. Choose low-profile, solid-colored furniture with clean lines, such as a matte black sofa or a simple oak coffee table. Paint walls in a solid neutral color like matte cream or pale grey. Sourcing minimalist styling pieces lets the floor serve as the design focus, keeping the room looking balanced and organized.

9. Cost Considerations and Installation Process Overview
Installing a 3D epoxy floor is a premium project that requires professional installation and costs between $10 and $20 per square foot. The process involves grinding the concrete subfloor, applying a self-leveling primer, gluing down the custom printed canvas, and pouring the clear liquid plastic. Expect the installation to take four to six days, as each resin coat must dry completely before the final protective layer is polished and sealed.
10. Durability, Maintenance, and Cleaning Tips
Epoxy resin is incredibly tough, scratch-resistant, and impervious to water spills, making it a highly durable flooring choice. To maintain the high-gloss shine, sweep the floor daily with a soft broom to remove dirt particles that can cause fine scratches. Mop the floor weekly with warm water and a pH-neutral cleaner. Avoid using abrasive scrubbing pads or harsh acid cleaners that can scratch or dull the glossy plastic finish.
11. Common Design Mistakes to Avoid
One of the most common mistakes is choosing low-resolution printed graphics, which can look pixelated and fake under direct lighting. Another error is over-decorating the room with busy wallpapers and colorful furniture, which competes with the floor and makes the space feel cluttered. Ensure you select high-resolution images, keep furniture styling minimal, and use diffuse warm lighting to maintain a clean, modern design.
12. How to Decide If 3D Epoxy Flooring Fits Your Space
If you love futuristic, high-contrast designs and want to add a unique visual statement to your home, a 3D epoxy floor is an excellent choice. Consider your room usage: bathrooms and basements are ideal locations. Evaluate your budget and find a professional epoxy flooring contractor with experience laying 3D prints, giving you a durable, beautiful design feature that elevates your daily living.