Back to Curation Board Bathroom

10 Bathroom Essentials for the Dreamiest Spa Experience

G
Written by Grace McCarty July 10, 2026 15 min read
10 Bathroom Essentials for the Dreamiest Spa Experience Hero

Designing a spa-like bathroom requires balancing soft touchable materials with moisture-resistant surfaces, proper layout clearances, and mechanical ventilation. A common mistake is selecting materials that warp in high humidity or ignoring bathroom ventilation guidelines, which can lead to mold stains. In this practical guide, we walk through 10 bathroom essentials for creating a spa experience, analyzing vanity clearances, lighting layers, teak wood styling, and moisture control to help you plan your bathroom layout.

1. Layered Lighting with Dimmer Switches

Avoid single, bright overhead bathroom lights. Plan your lighting in three layers: install dimmable recessed downlights above walkways, mount warm frosted glass vanity sconces at eye level, and place waterproof LED strip lights inside shower niches to create a relaxing evening glow.
Layered Lighting with Dimmer Switches in Spa Bathroom

2. Backlit LED Vanity Mirrors

Install backlit round or rectangular mirrors above the vanity sinks. Backlighting provides soft, shadow-free illumination for morning prep, reducing glare on the glass and serving as a calming nightlight when primary ceiling lights are switched off.
Backlit LED Vanity Mirrors above sink

3. High-Loft Turkish Cotton Towels

Style your bathroom with thick, high-loft Turkish cotton towels in white, cream, or sand. High-gram-weight cotton towels reflect light softly while absorbing water quickly, providing a luxury spa detail that coordinates with linen drapes.

High-Loft Turkish Cotton Towels rolled in basket

4. Under-Sink Vanity Storage Organizers

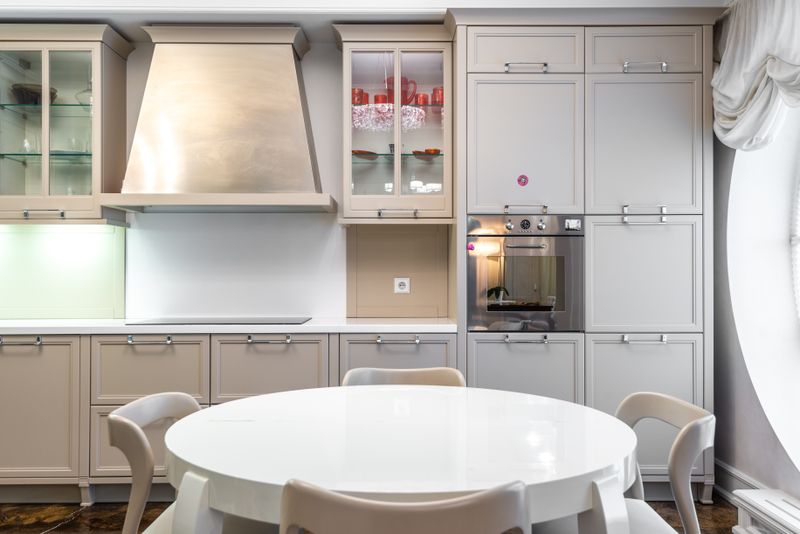
Keep your countertops clear of clutter by installing pullout organizers inside the vanity cabinets. Slide daily toiletries into acrylic bins or woven drawers, keeping vanity tops clean and minimal. If you are painting your vanity, check out our navy cabinet guide for paint pairing ideas.
Under-Sink Vanity Storage Organizers inside closet

5. Thermostatic Rain Showerheads

Upgrade your shower experience with a wide, ceiling-mounted thermostatic rain showerhead. Thermostatic valves mix hot and cold water to a set temperature, preventing temperature drops when other faucets are turned on. Verify manufacturer installation manuals before modifying plumbing pipes.
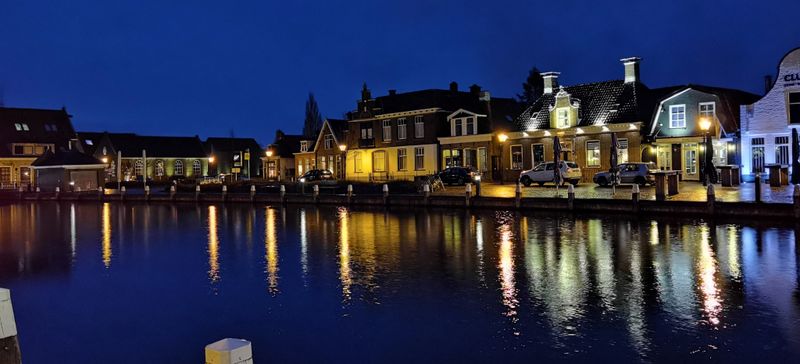
Thermostatic Rain Showerheads wet room

6. Freestanding Acrylic Soaking Tubs

A deep freestanding acrylic tub provides a visual focal point in spacious layouts. Position the tub near windows to capture daylight views, ensuring you maintain sufficient clearance walkway space around the tub sides to allow cleaning access.
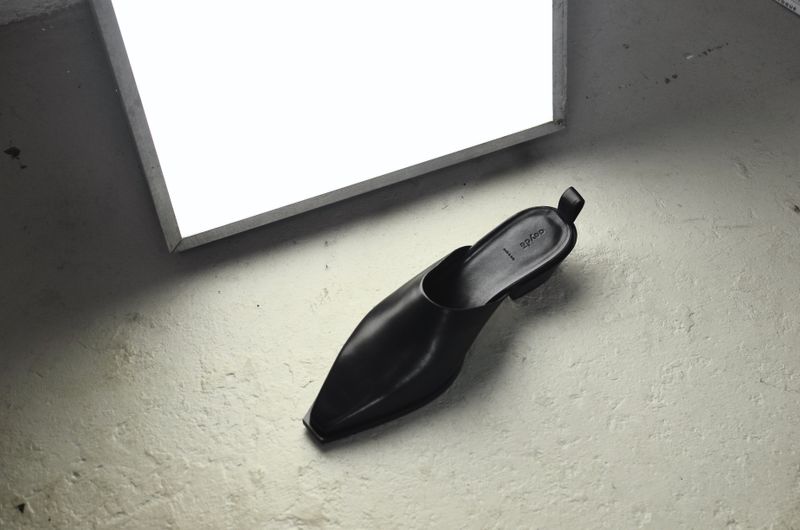
Freestanding Acrylic Soaking Tubs near window

7. Warm Brushed Brass Hardware

Install brushed brass faucets, drawer pulls, and towel rails. Brass adds warm metallic details that contrast beautifully with white stone counters and cool gray tiles, resisting fingerprints better than polished chrome finishes.
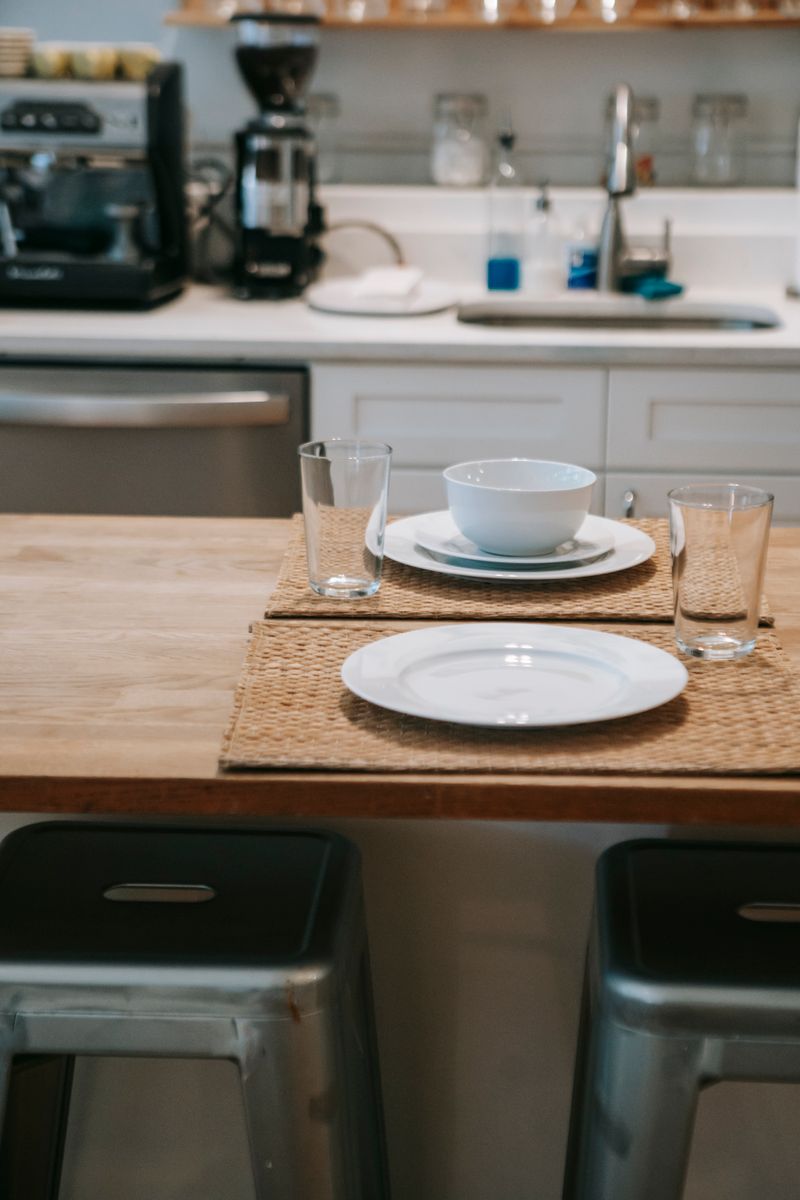
Warm Brushed Brass Hardware faucets

8. Natural Teak Wood Accents

Place a water-resistant teak wood stool inside the shower or beside the tub. Teak wood contains natural oils that resist moisture damage, providing a warm organic accent that coordinates with woven rattan baskets and stone tiles.
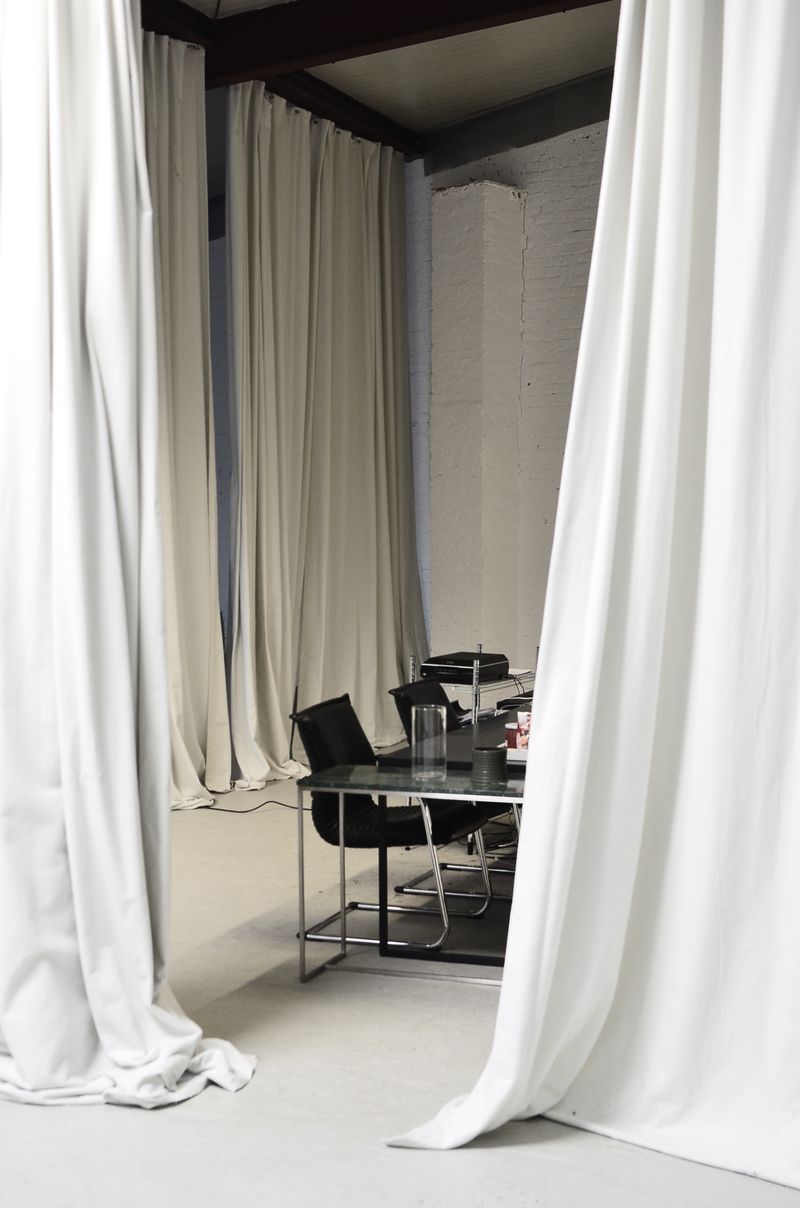
Natural Teak Wood Accents stool

9. Muted Earth-Tone Color Schemes

Build your room color scheme around neutral tones like alabaster cream, soft sand, and warm taupe grey. Muted paint colors reflect window light cleanly, preventing wet bathrooms from looking dark, cold, or sterile.

Muted Earth-Tone Color Schemes vanity

10. Fresh Eucalyptus Hanging Garlands

Hang a bundle of fresh eucalyptus branches behind your showerhead. Shower steam releases the natural oils of the eucalyptus, providing a fresh, soothing scent that turns daily showers into a botanical spa experience.
Fresh Eucalyptus Hanging Garlands

Bathroom Layout & Spacing Clearances

Comfortable bathroom layouts require planning for open floor space. As general design recommendations, follow these guidelines:

  • Vanity Clearance: Maintain at least 30 inches of open floor space in front of vanity sinks and toilets to ensure walkways remain clear during morning use.
  • Shower and Tub Spacing: Plan for a walkway width of at least 30 to 36 inches between the edge of a freestanding tub and the vanity to allow safe movement when floors are wet.

Always verify exact electrical, plumbing, and structural safety requirements with your local building codes, national regulations (such as electrical GFCI placement rules), and the equipment manufacturer's installation guidelines.

Ventilation & Moisture Management

A high-capacity mechanical exhaust fan is essential for moisture management in spa bathrooms. Select a fan rated for the room's square footage (a general guideline is 1 CFM per square foot of room area) to draw humid air out, preventing mildew stains on painted walls and ceiling panels. Always consult a licensed trade professional to verify duct routing and electrical requirements.

Common Spa Styling Mistakes

  • Using Non-Moisture-Resistant Woods: Styling bathroom shelves with soft pine or untreated oak leads to swelling and rotting. Stick to tropical hardwoods like teak or bamboo.
  • Omitting Dedicated Task Lights: Relying solely on backlit mirrors leaves the shower area in shadow. Always pair accent lighting with wet-rated ceiling downlights.
  • Overcrowding Small Footprints: Placing a large freestanding tub in a compact bathroom blocks walkways and makes cleaning difficult. Use a compact alcove tub instead.

Conclusion

Mastering a spa-bathroom design is all about finding a balance between natural wood textures, warm lighting layers, and functional clearances. By planning your ventilation systems and maintaining proper clearances, you create a relaxing, safe sanctuary. Always confirm electrical plumbing hookups and local building codes with a licensed professional before starting construction.